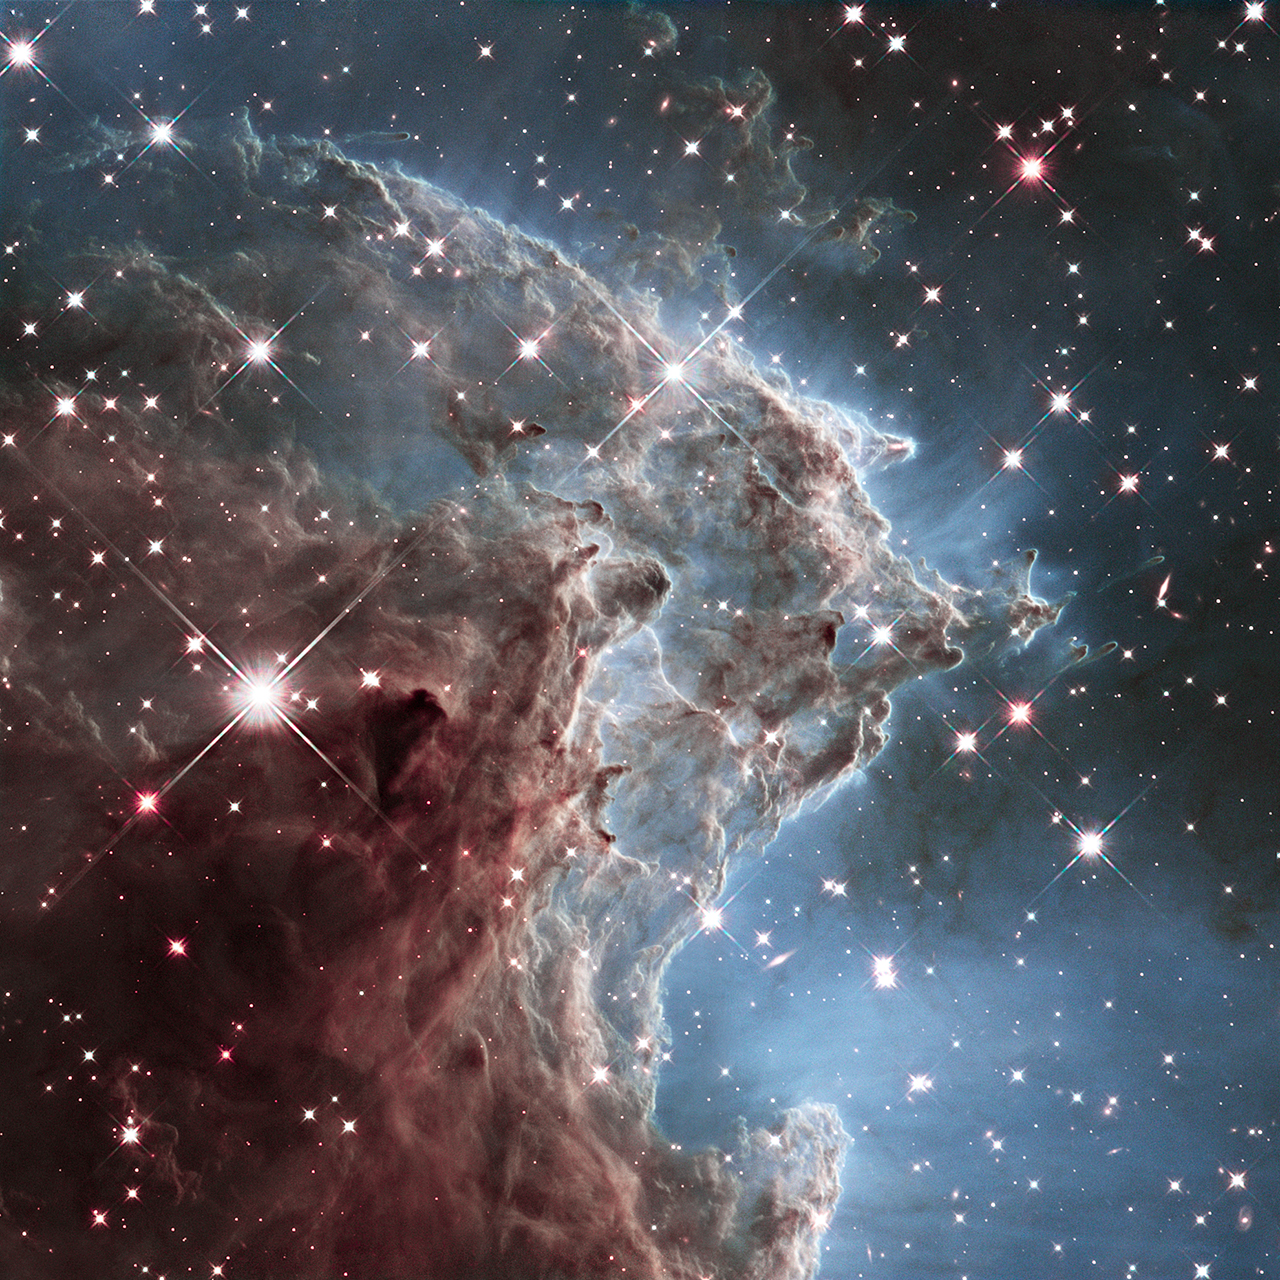
The smart telescope year has two seasons that matter: June through August, when it's warm and clear and nothing goes wrong; and November through February, when the best targets in the sky — Orion, the Horsehead, the Pleiades, the California Nebula — are up and everything from the battery to the glass is actively working against you. This is the guide for that half.
Dew: the actual physics, in one paragraph
Dew is not about air temperature. It's about the gap between any surface and the air's dew point — the temperature at which the water vapor already in the air saturates. A clear night radiates heat straight up into space, so unprotected glass (your corrector plate, your lens) drops several degrees below ambient air temperature. When that glass crosses the dew point, water condenses on it. In practice this means a 45 °F night at 85% humidity dews a smart telescope faster than a 25 °F night at 40% humidity. Clear Outside and Astrospheric both report dew point directly; the useful trigger is any session where the ambient–dew-point spread is under about 5 °C (9 °F).
Dew heater straps: sizing them to each smart scope
A dew heater is a resistive strap that wraps around the body tube and bleeds a watt or two of heat into the glass, keeping it 2–3 °C above ambient. That's enough to stay above the dew point on all but the worst nights. The straps are cheap, USB-powered, and the single piece of winter kit most owners skip and regret.
| Scope | Strap size | Notes |
|---|---|---|
| Seestar S30 / S30 Pro | 2–3 inch (50–80 mm) | Wraps around the objective end. S30 Pro's longer tube gives more wrap options. |
| ZWO Seestar S50 | 3–4 inch (80–100 mm) | The 50 mm objective dews before the S30 does on a damp night. |
| DwarfLab Dwarf 3 | 2 inch (50 mm) | The telephoto and wide lens dew at different rates; the strap on the telephoto is the one that matters. |
| DwarfLab Dwarf Mini | Small 1.5–2 inch | Short body — a generic small-camera lens heater works. |
| Vaonis Vespera II / 3 | 3–4 inch | Large flat front element dews fast. A strap plus Vaonis's optional heater accessory is the belt-and-suspenders setup. |
| Unistellar Odyssey / Odyssey Pro | 4–5 inch | Largest exposed glass of the current smart scopes. A strap is close to mandatory on any humid night. |
The strap plugs into a USB-A power bank, not the scope's own battery — the scope's battery is already doing the stacking. A 10,000 mAh bank runs a strap for about eight hours. Cheap Kendrick-style straps work; anything with a labeled wattage between 3W and 6W is in the right range.
Battery runtime in the cold
Every current smart telescope runs on a built-in lithium-ion pack: the Seestar S30 Pro at 22 Wh, the Dwarf 3 at ~37 Wh, the Vespera 3 rated for ~11 hours in mild conditions, the Odyssey Pro at under 100 Wh. The rated hours assume the manufacturer's test temperature, typically 20–25 °C. The chemistry doesn't care about brands: lithium-ion cell capacity drops with temperature as internal resistance rises, and that fall-off is sharp between 0 °C and −10 °C. Plan on 30–50% less runtime under freezing conditions, and on some packs cutting out entirely below −10 °C until they warm up.
The three mitigations, in order of value:
- Keep the pack warm until the session starts. Don't leave the scope in the car trunk for two hours before setup. The pack loses capacity not just while cold but while cycling from warm to cold and back, so start warm.
- Run from external USB-C if the scope supports it. The Seestar S30 Pro and Dwarf 3 both accept USB-C PD input during operation, which is the single biggest winter runtime fix — keep a LiFePO4 power station or a labeled cold-rated power bank in an insulated bag with a chemical hand warmer, and the scope draws from that instead of its own cold internal cell.
- Insulate the scope body. A neoprene sleeve on the battery compartment, or just a soft insulated lunch bag sized to the scope, is enough to keep the pack several degrees above ambient. The internal electronics are rated well below freezing; the battery is the one piece that cares.
The TSA 100 Wh carry-on battery rule is not a factor for in-field cold operation (every current smart scope is under 100 Wh), but it matters if you're flying to a winter dark-sky site — see Traveling With a Smart Telescope for that side.
The condensation mistake that ruins optics
When you bring a cold scope indoors, warm interior air contacts the scope's cold glass and metal, and water vapor condenses on every surface — inside the corrector, inside the eyepiece housing, inside the electronics bay if the seal is imperfect. It keeps condensing for the full hour or two it takes the scope to reach room temperature, and that moisture is what grows fungus on coated optics months later.
The fix is one step: before you bring the scope inside, put it in a sealed plastic bag or its padded storage case outside, in the cold. Seal it there. Bring the sealed bag indoors and leave it closed for two to four hours — longer if the scope is bigger. The condensation forms on the inside of the bag, not on your optics. When the bag feels room-temperature, open it, pull out the scope, and let any residual moisture evaporate with the case open for an hour before storing.
The scopes most vulnerable to this are the Vaonis and Celestron Origin ranges, which have sealed optical paths that can't be dried from the inside if moisture does get in. The Seestar and Dwarf lines are forgiving in comparison, but the bag step is free insurance.
Phone and tablet survival
Your phone runs the app that runs the scope. Phones die fast in cold weather — the same lithium chemistry — and modern iPhones in particular will shut down between 0 °C and −5 °C with no warning. Three defenses:
- Keep the phone inside your jacket between target changes, not in the stand.
- Use a wired USB-C connection to a warm-kept power bank rather than depending on the phone's internal battery.
- Turn the screen brightness down to minimum. Bright screens draw more current and drain faster.
For dark-adaptation purposes, the phone's red-only tint mode (Settings → Accessibility → Display & Text Size → Color Filters on iOS, or Developer Options on Android) is the right default on every winter session.
What's actually up on winter nights
The payoff for all of this is that winter is the best imaging season in the Northern Hemisphere. The sky is dry and transparent, nights are long, and the Orion region alone covers the Orion Nebula (M42), the Horsehead and Flame pair, Barnard's Loop, and the Running Man. Nearby, the Pleiades and the California Nebula dominate Taurus and Perseus. Low horizons matter less in winter because the targets are high in the sky from mid-northern latitudes by 10 PM. The first-night sequence still works: Moon first if it's up, bright nebula second, the ambitious stuff on night two. The dark-sky-trip guide is just as relevant in winter as in summer, with one addition — the temperature swing between sunset and 2 AM at a desert dark-sky site is often 25–35 °F, and dressing for the sunset temperature is how winter trips get cut short.
Bottom line
Winter astrophotography with a smart telescope is 80% pre-flight checklist. Charge warm, strap for dew, run external USB-C power if the scope accepts it, bag the scope before bringing it indoors. The gear bill is small — a $20 heater strap, a $40 power bank, a $5 plastic bag — and the difference is whether your December is the best imaging month of the year or the month you decided this hobby was seasonal after all. See the cloudy-night workflow guide for what to do with the processing time you're going to have on the unclear nights in between.